
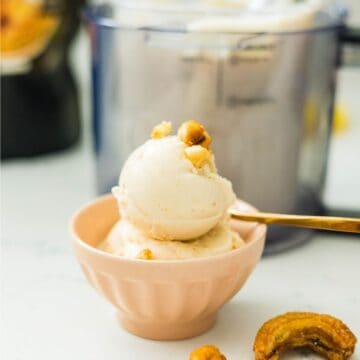
If you've been searching for a banana Ninja Creami recipe that comes out creamy instead of icy, the trick is in the sweetener. Most recipes use maple syrup or agave - good options, but ninja creami banana ice cream made with sweetened condensed milk does something different. It keeps the base silky and smooth all the way through the spin.
This recipe reminds me of the banana base I love in an acai bowl, but in frozen, scoopable ice cream form. It’s sweet, creamy, banana-forward, and perfect with toppings like granola, strawberries, chocolate chips, peanut butter, or a drizzle of honey.
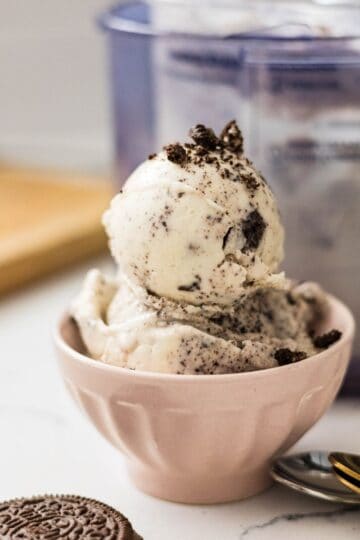
One ripe banana, four simple ingredients, and a pint that tastes like the real thing.
Jump to:
- Why You'll Love This Banana Ice Cream
- Ingredients
- Easy Swaps and Add-Ins
- How to Make Ninja Creami Banana Ice Cream
- 🍒Mix-In and Topping Ideas
- Serving Size
- Tools You’ll Need
- Recipe Tips That Make a Difference
- Is This the Same as "Nice Cream"?
- Recipe FAQs
- Related Recipes
- Did you try this recipe?
- Ninja Creami Banana Ice Cream
Why You'll Love This Banana Ice Cream
- Rich, creamy banana flavor from real fruit - no artificial anything
- Sweetened condensed milk keeps the texture smooth and scoopable, not icy
- No pudding mix, no gums, no protein powder
- Five ingredients you probably already have
- Endlessly customizable with mix-ins
- Works in both the standard Ninja Creami and the Deluxe
Ingredients
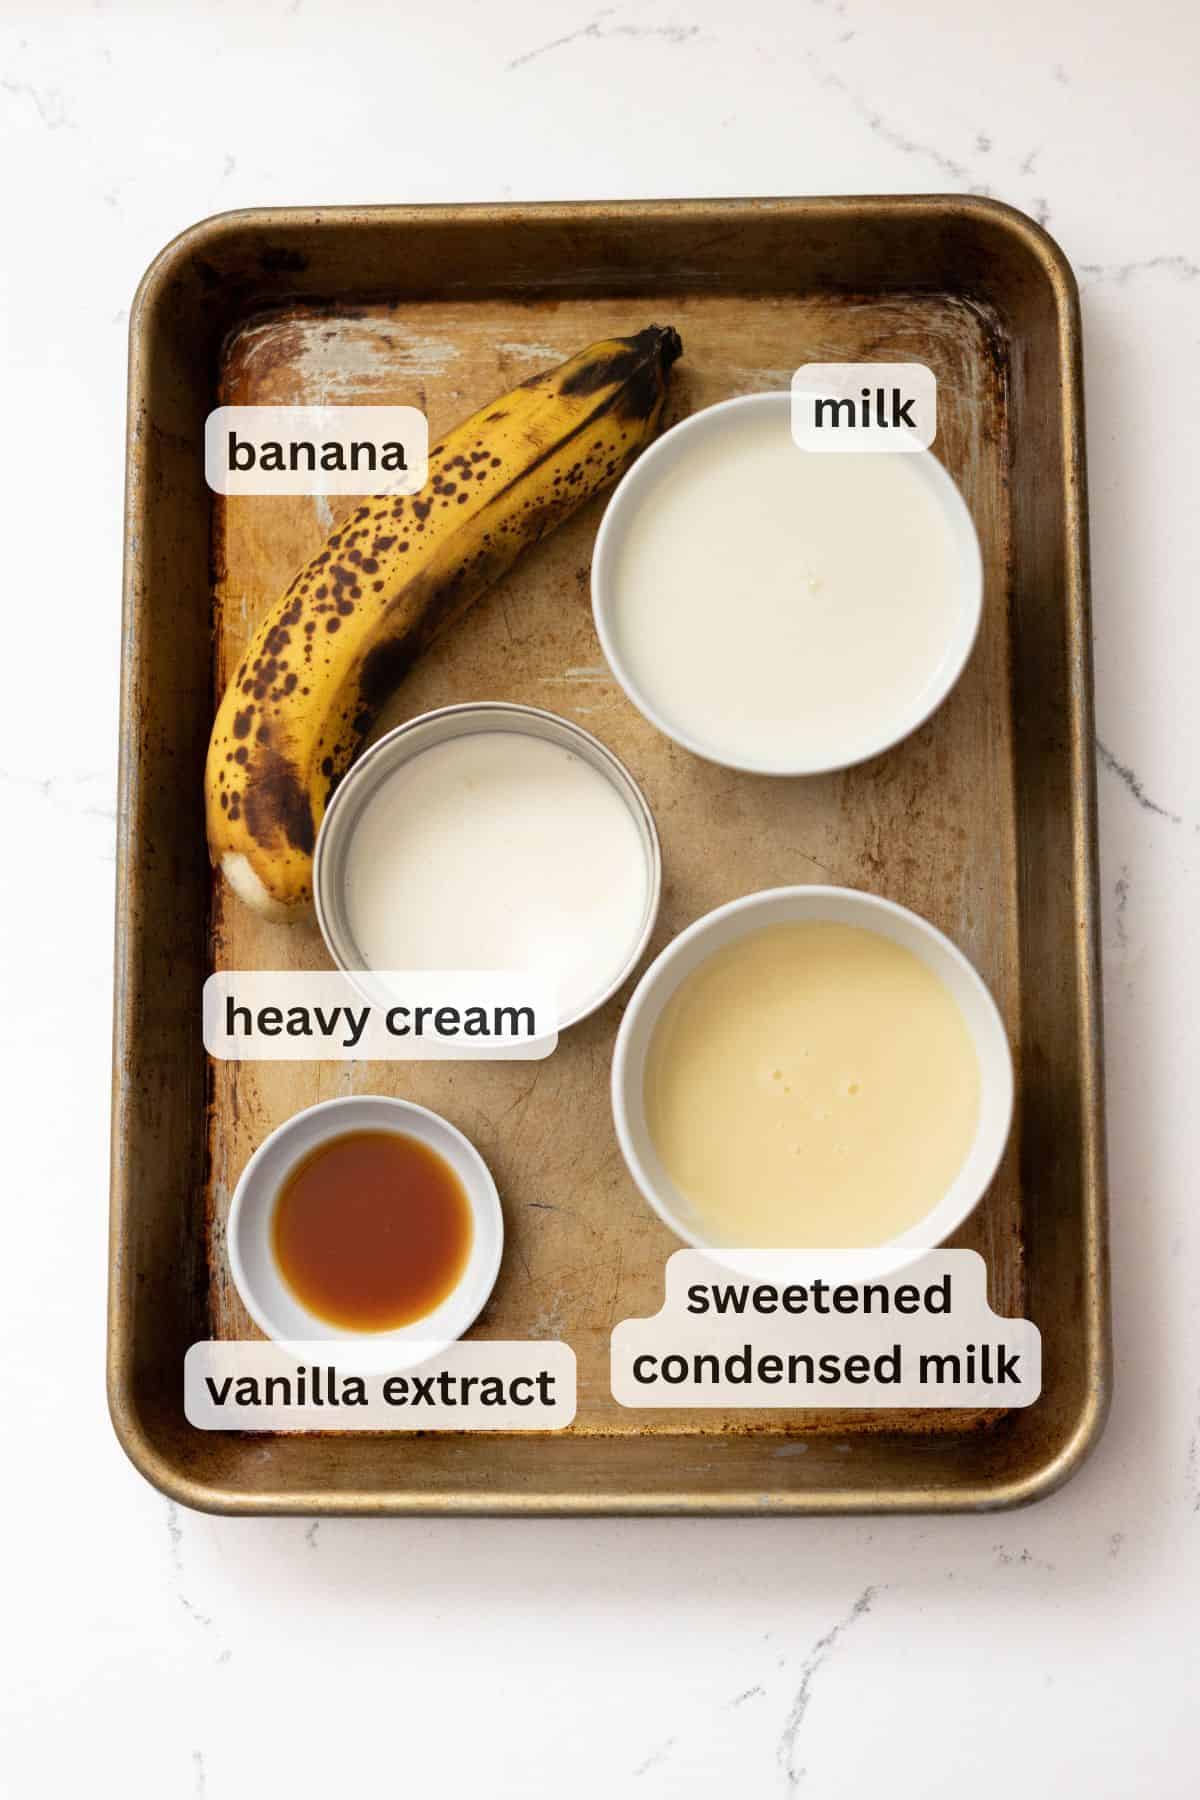
- Banana - One ripe banana is all you need. And "ripe" matters here. Look for a banana that's soft, sweet-smelling, and covered in brown spots. The more spotted it is, the sweeter and more flavorful your ice cream will be. An under-ripe banana will freeze with less sweetness and a starchier flavor that doesn't spin out well. If your banana isn't quite there yet, give it another day or two on the counter.
- Sweetened condensed milk - This is the ingredient that separates a creamy pint from an icy one. Condensed milk isn't just sweetness - its high sugar concentration lowers the freezing point of the base, which means it freezes softer and spins up smoother. Half a cup is the sweet spot. You'll have leftover condensed milk from the can - store it in a small jar in the fridge and use it for your next pint.
- Milk (2% or whole) - Three-quarters of a cup adds body to the base without making it too heavy. Whole milk gives you the richest result. 2% works well too. I'd avoid anything lower fat here - skim milk will make the texture icier after freezing.
- Heavy whipping cream - A quarter cup goes a long way. This is what gives the base that creamy, scoopable consistency after spinning. Don't skip it or try to cut it back - it's doing real work here.
- Vanilla extract - One teaspoon. It doesn't make this taste like vanilla ice cream - it just makes it taste more like itself. Banana and vanilla are one of those combinations that's always been right.
Easy Swaps and Add-Ins
- Dairy-free - Use full-fat coconut milk in place of the milk and cream, and a dairy-free sweetened condensed milk. The texture will be slightly different but still creamy.
- Extra banana flavor - Add a drop of banana extract to the base alongside the vanilla. A little goes a long way.
- Lower sugar - Reduce the condensed milk to 3 tablespoons and add 2 tablespoons of allulose to compensate. Your base may freeze a touch harder.
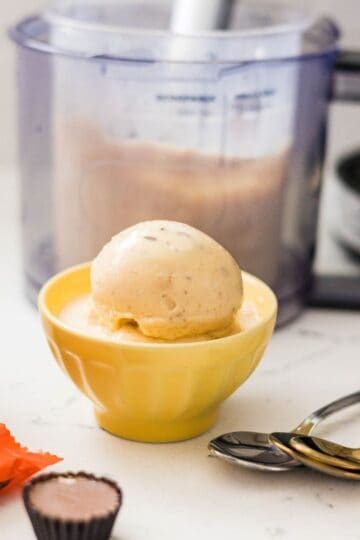
- Peanut butter banana - Stir 2 tablespoons of peanut butter into the base before freezing. Classic combination.
- Banana foster - Add a pinch of cinnamon and a pinch of brown sugar to the base, then mix in caramel sauce after spinning.
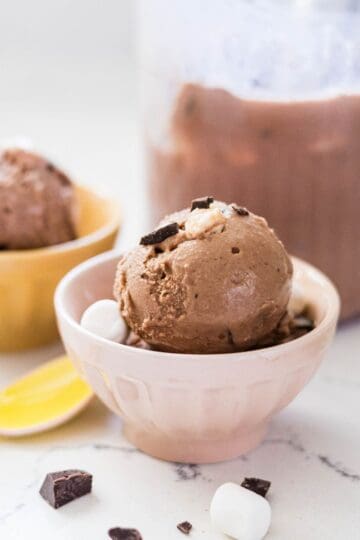
- Chocolate banana - Add 1 tablespoon of cocoa powder to the base for a chocolate-banana twist, or use the mix-in cycle to add mini chocolate chips.
How to Make Ninja Creami Banana Ice Cream
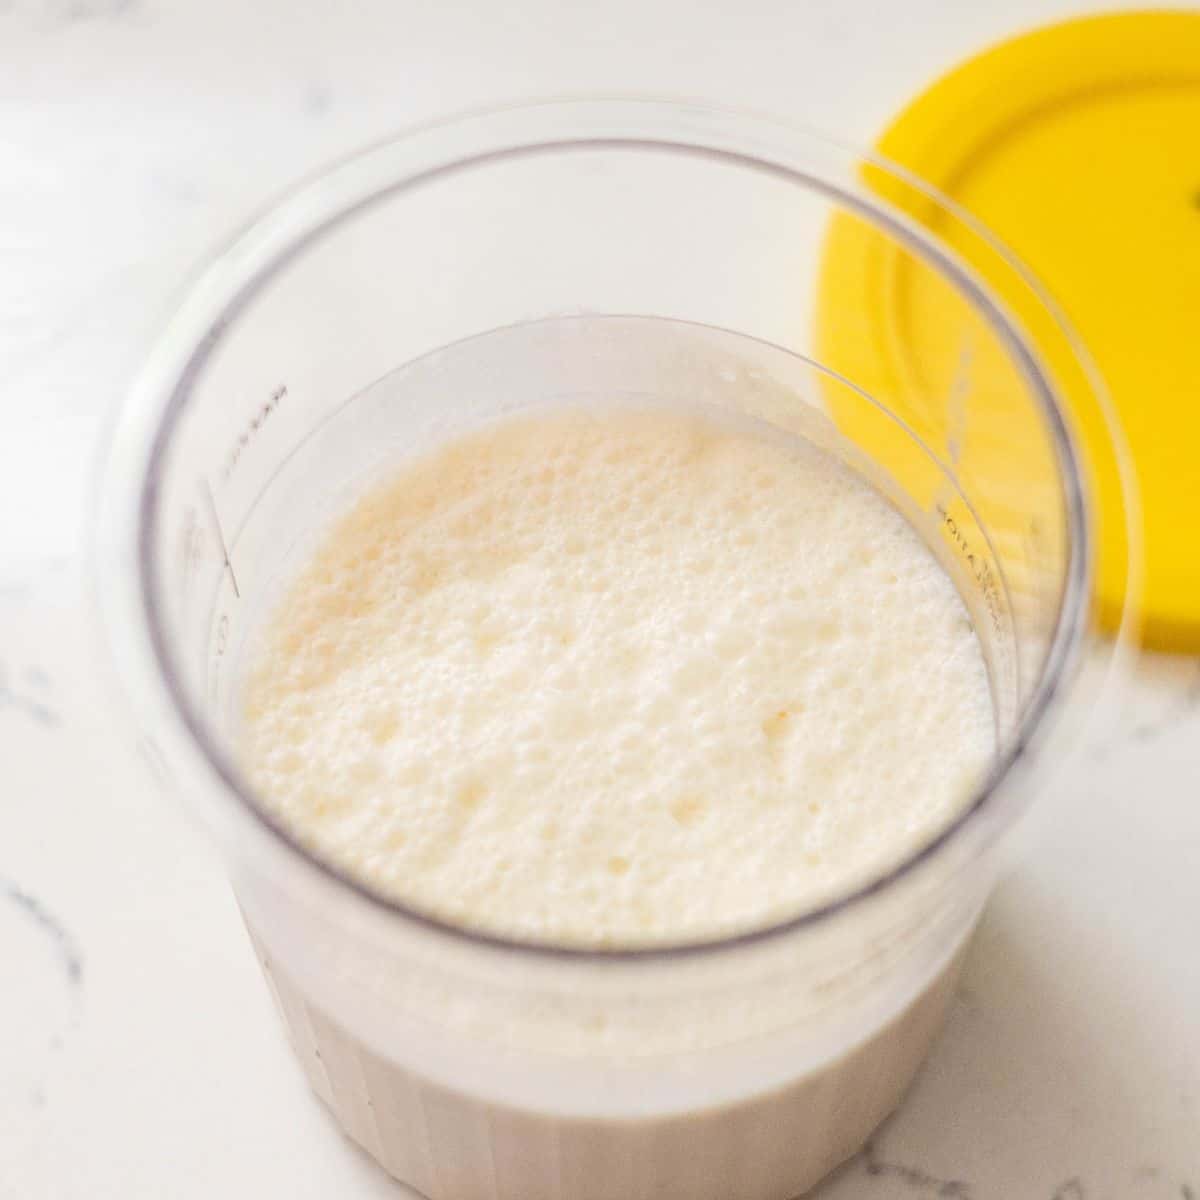
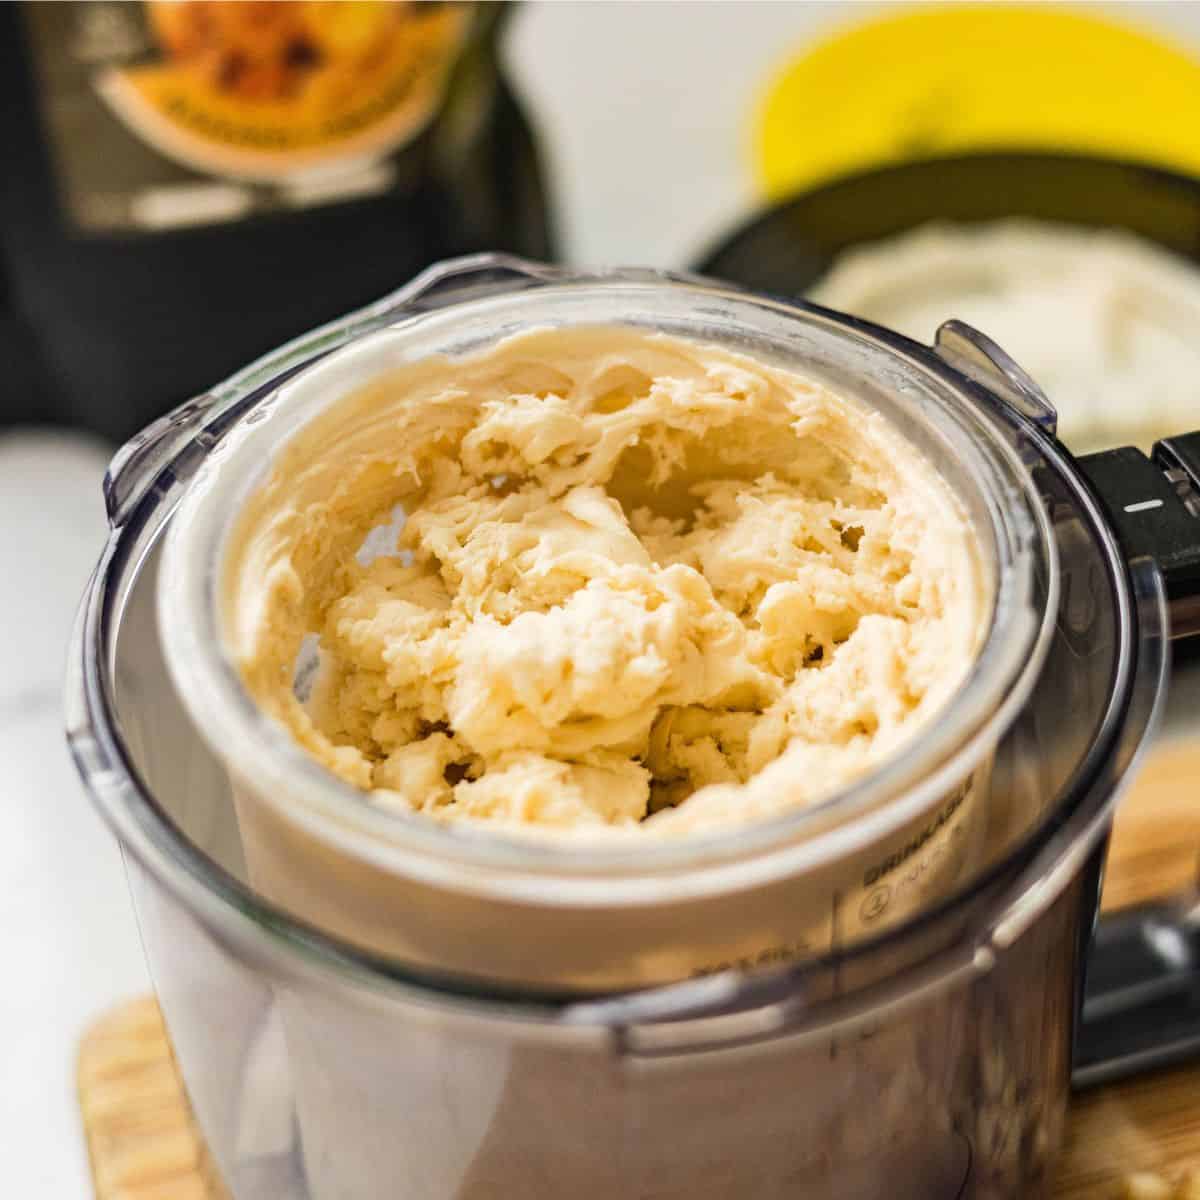
- Mash and Mix the Base- Peel your banana and add it to the Ninja Creami pint. Mash it well with a fork until mostly smooth - a few small lumps are fine, the machine will handle those. Add the sweetened condensed milk, milk, heavy cream, and vanilla extract. Stir everything together until combined. Give it a taste - it should be sweet and very banana-forward. That's exactly right.
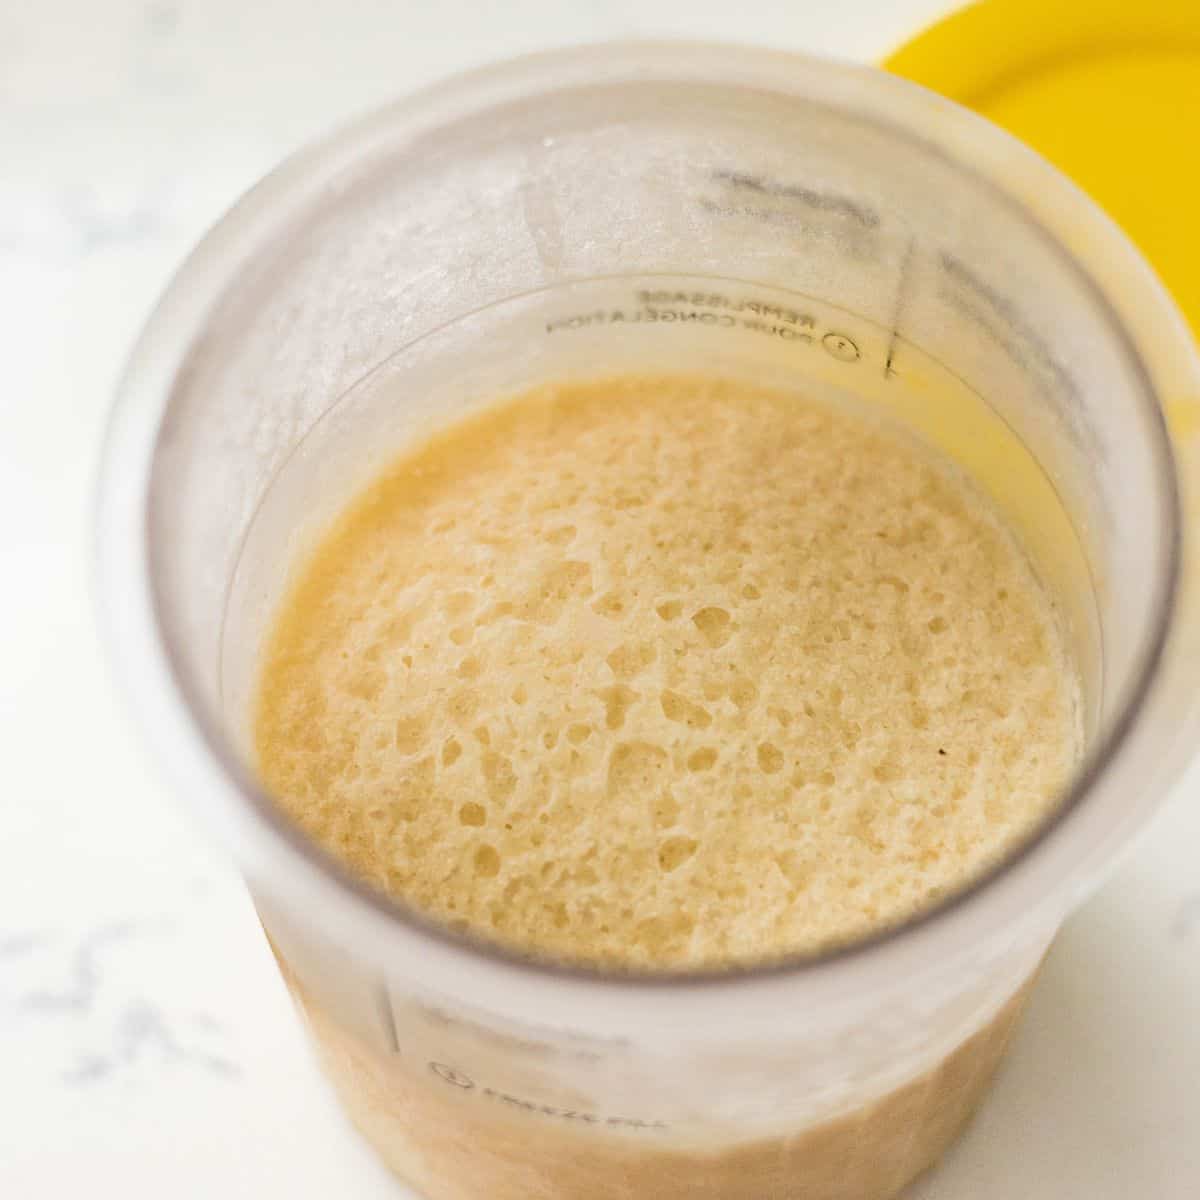
- Freeze - Place the pint on a flat, level surface in your freezer. Freeze for a full 24 hours. This is the one step you can't rush. The base needs to freeze solid all the way through for the machine to process it correctly. Anything less and you risk an uneven spin. Prep it the night before or first thing in the morning so it's ready when you want it.
- Spin - Remove the pint from the freezer and let it sit on the counter for 1-2 minutes. Run warm water along the outside of the container for about 30 seconds - this softens the outer edge and helps the machine spin evenly from the start. Install the pint into your Ninja Creami bowl, lock it in, and press Ice Cream.
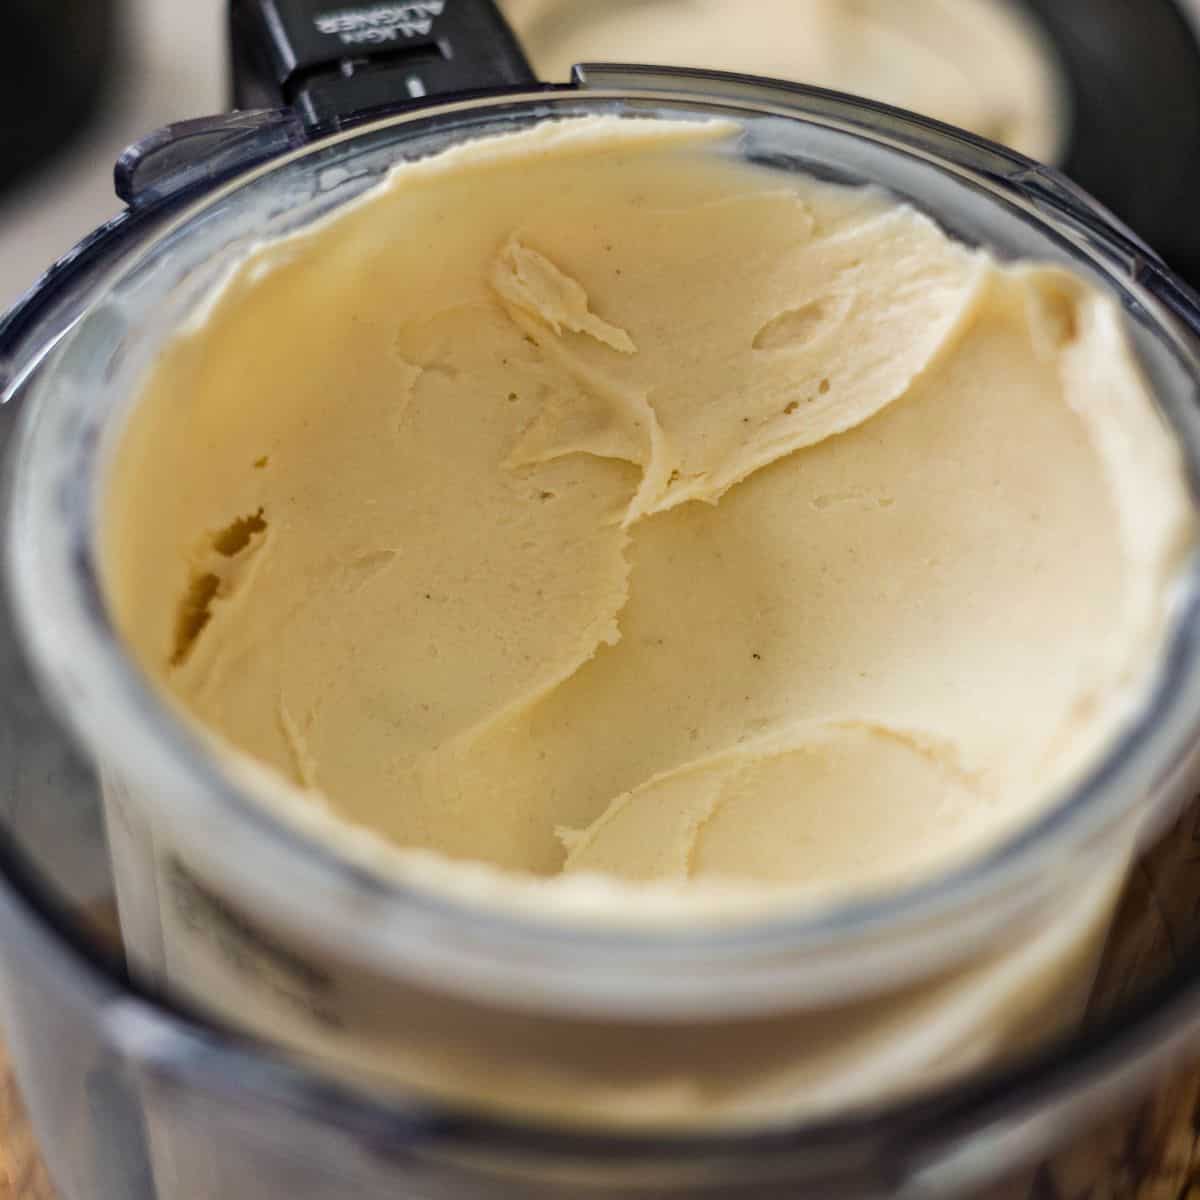
- Check and Respin if Needed - After the first spin, check the texture. Because this base has real fat and condensed milk, it usually comes out beautifully creamy on the first spin. If there are a few crumbly spots around the edges, add 1 tablespoon of milk and press Respin. One pass almost always finishes the job.
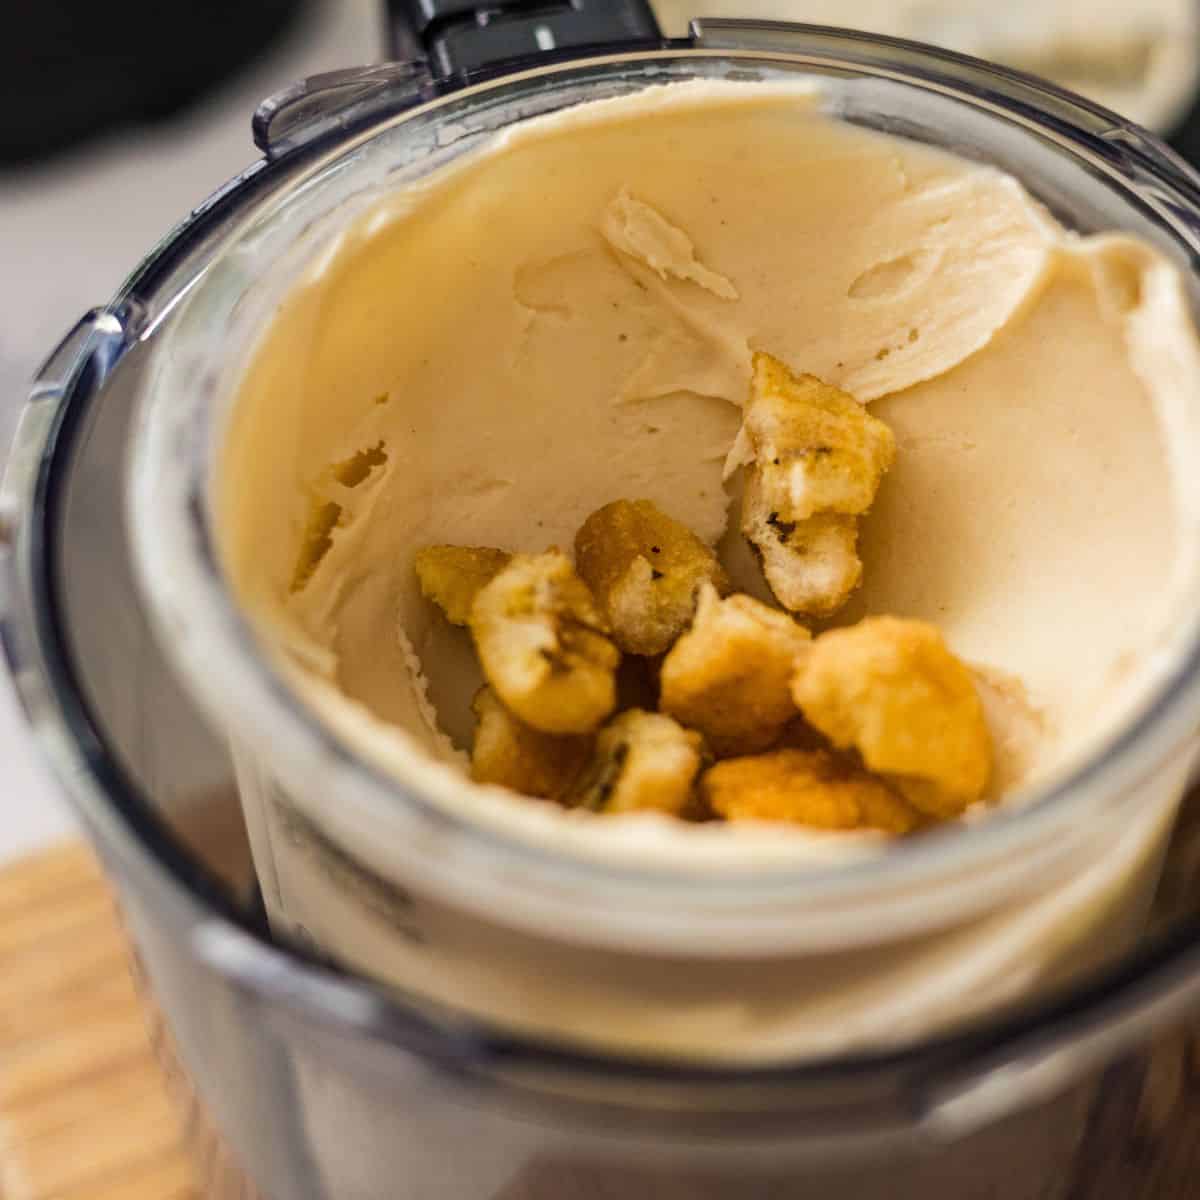
- Add mixins - If you want to add mix-ins, use a spoon to make a small well in the center of the ice cream, reaching down toward the bottom of the pint. Add crunchy fried banana slices. Place the pint back into the machine and press Mix-In.
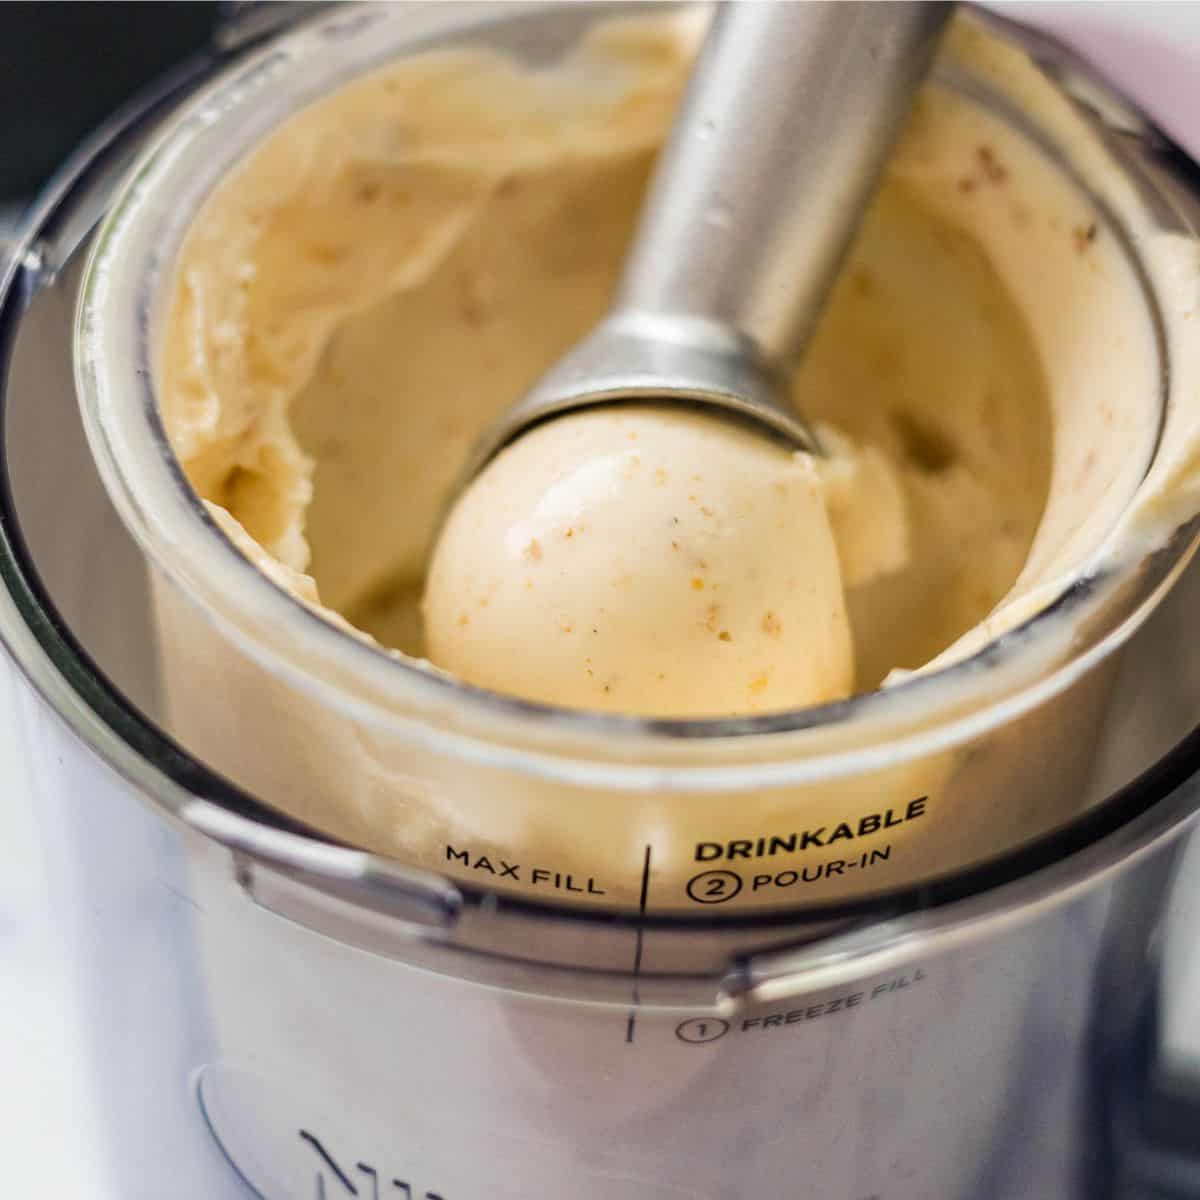
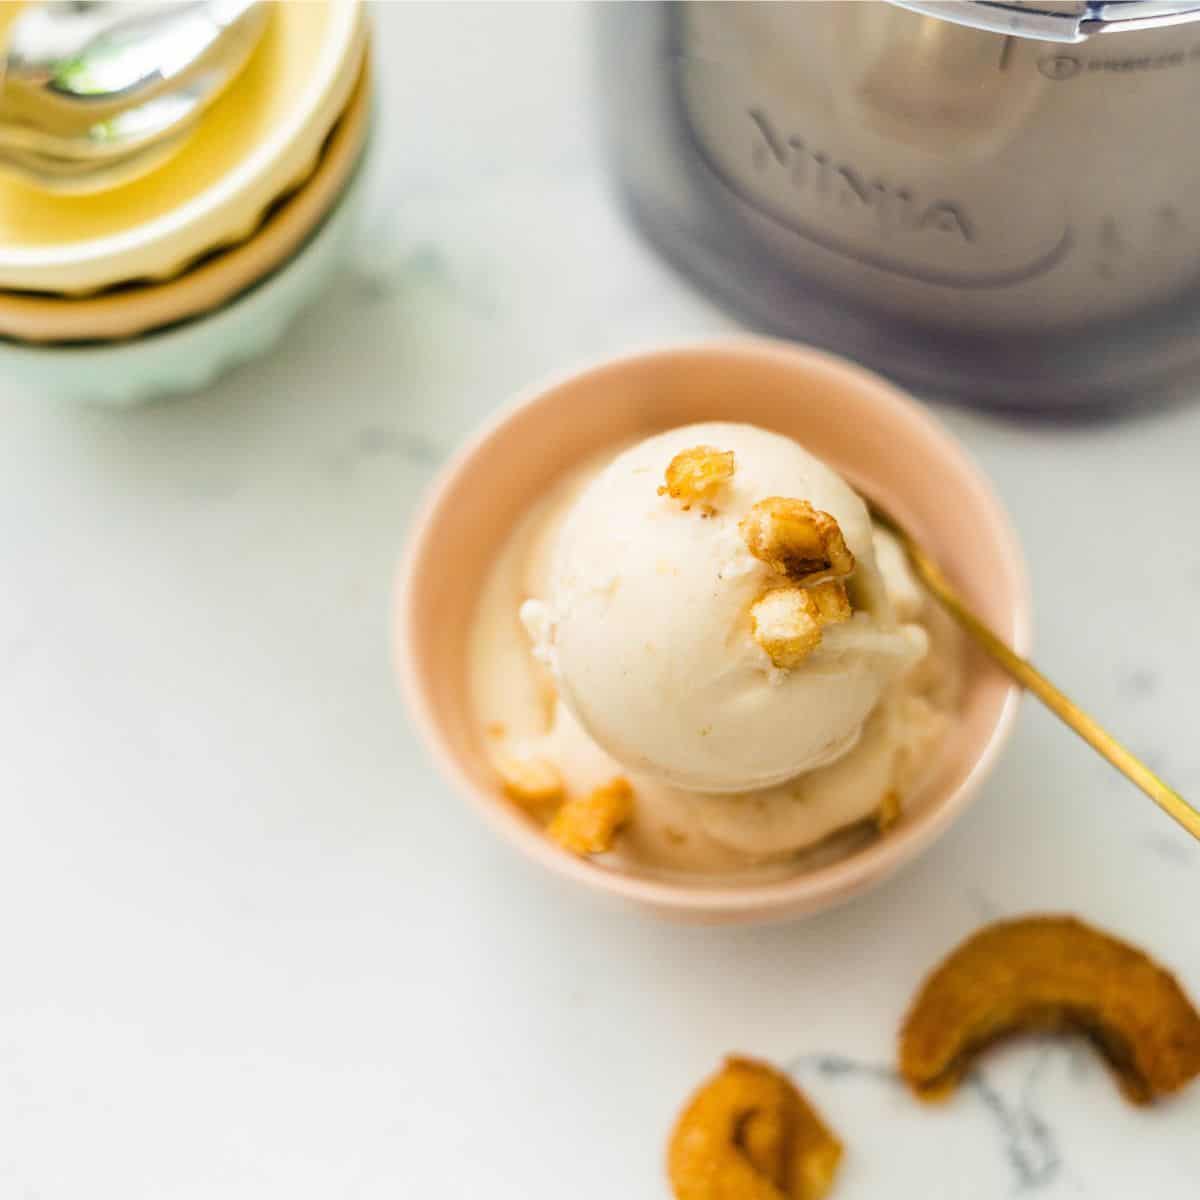
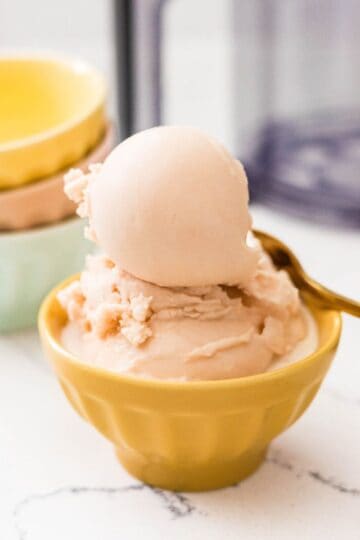
- Scoop and Serve - Scoop right away for a soft-serve texture. If you prefer firmer scoops, pop the pint back in the freezer for 15-20 minutes first. Serve in a bowl, a cone, or straight from the pint.
🍒Mix-In and Topping Ideas
- Mini chocolate chips (mix-in cycle or sprinkled on top)
- Crushed graham crackers for a banana cream pie vibe
- Sliced fresh banana and a drizzle of caramel sauce
- Chopped walnuts or pecans
- A swirl of peanut butter pressed into the top
- Hot fudge drizzled over the scoop
- Crushed vanilla wafers for a banana pudding feel
- For a full breakdown of what mix-ins work best in the Creami and how to use them, check out my ultimate guide to mix-ins for every kind of Creami recipe.
Serving Size
This recipe is made for the Ninja CREAMi Deluxe, yielding 4 servings per pint.
If you’re using a standard 16-ounce Ninja Creami pint instead of the Deluxe 24-ounce, just use two-thirds of each ingredient. Think of it as filling the pint about the same way. Just a little less of everything.
Tools You’ll Need
- Ninja CREAMi Deluxe 11-in-1 Ice Cream & Frozen Treat Maker: The star of the show, perfect for creating creamy, smooth ice cream.
- Ninja Creami Pint Container: The pint container is essential for freezing and churning your ice cream mix.
- Fork (for mashing the banana)
- Measuring cups and spoons
Recipe Tips That Make a Difference
- Wait for a spotty banana. A yellow banana with no spots will give you a bland, starchy result. Brown spots mean the starches have converted to sugar - that's what gives you deep banana flavor and a naturally sweeter base.
- Don't skip the warm water step. Running warm water along the outside of the pint for 30 seconds before installing it softens the outer edge and prevents uneven processing. It takes 30 seconds and it matters.
- Level surface in the freezer is non-negotiable. If your pint freezes at an angle, the blade hits unevenly. Use a small cutting board under the pint if your freezer shelf isn't perfectly level.
- Mash the banana well. Take an extra minute with the fork to get it as smooth as possible. Chunks of frozen banana don't fully process in the machine and can leave fibrous bits in the final texture.
- Don't overfill the pint. Stay at or below the max fill line. This recipe fills the standard pint almost exactly - don't be tempted to add extra banana.
- Let it sit before scooping. For firmer, scoop-shop-style scoops, give the pint 15-20 minutes back in the freezer after spinning. For soft serve, eat it right away.
Is This the Same as "Nice Cream"?
Not quite. Nice cream is made by blending frozen bananas alone - no added dairy, no sweetener. It's light, dairy-free, and leans more sorbet-like in texture. This ninja creami banana ice cream uses real dairy alongside fresh banana, which gives you a richer, creamier result that's much closer to traditional ice cream. Both are great - they're just doing different things.
Recipe FAQs
Very ripe. Look for a banana that's soft to the touch and covered in brown spots - the kind you'd normally use for banana bread. The riper the banana, the sweeter and more flavorful your ice cream. An under-ripe banana freezes starchier and won't give you that deep banana flavor you're after.
Yes, but thaw them completely first and drain any excess liquid before mashing. Frozen bananas release more moisture when they thaw, which can make the base slightly more watery. Fresh, very ripe bananas give you the best flavor and control.
Condensed milk does two things that other sweeteners don't - it sweetens the base and keeps it from freezing rock solid. The high concentration of sugar in condensed milk lowers the freezing point of the base, which means it freezes softer and spins up smoother. Regular sugar dissolves fine but doesn't have the same effect on texture. Maple syrup and honey work too, but condensed milk is the better choice for a pint that comes out creamy on the first spin.
No. A ripe banana mashes easily with a fork, and stirring the remaining ingredients together gets you a smooth enough base. The Ninja Creami handles any remaining texture during the spin. If you want an ultra-smooth base, an immersion blender works - but it's not necessary.
A few possible causes - the banana wasn't ripe enough, the pint froze unevenly, or it just needs a respin. Add 1 tablespoon of milk to the pint and press Respin. Don't panic - one respin fixes it almost every time. If it's still crumbly after one respin, add another tablespoon and go again.
Related Recipes
If you liked this one, these are worth adding to your pint rotation next:
- Ninja Creami 3-Ingredient Mango Ice Cream Same simple, fruit-forward approach - but with mango. Sweet, tropical, and ready in minutes of prep.
- Ninja Creami Pineapple Dole Whip - Light, fruity, and refreshing. A great companion pint to batch prep alongside this banana ice cream on a weekend.
- Ninja Creami Cherry Ice Cream - Rich fruit flavor with a beautiful color. Another real-ingredient recipe that leans into the natural sweetness of the fruit.
- Ninja Creami Basic Vanilla Base Recipe - Once you've made this banana ice cream, the vanilla base is the natural next step. Master it and you'll have a foundation for dozens of flavors.

Did you try this recipe?
Share how it turned out in the comments below, and if you loved it, share it on Facebook, Pinterest & Instagram.
Thank you! - Rose
Ninja Creami Banana Ice Cream
Equipment
- 1 Ninja Creami Deluxe Ice Cream maker
- 1 Ninja Creami Pint Container
Ingredients
- 1 ripe banana
- ½ cup sweetened condensed milk
- ¾ cup whole milk or 2% milk
- ¼ cup heavy whipping cream
- 1 teaspoon vanilla extract
Instructions
- Add the banana to your Ninja Creami pint container and mash with a fork until mostly smooth.1 ripe banana
- Pour in the sweetened condensed milk, milk, heavy cream, and vanilla extract. Stir until fully combined.½ cup sweetened condensed milk, ¾ cup whole milk or 2% milk, ¼ cup heavy whipping cream, 1 teaspoon vanilla extract
- Freeze the pint on a flat surface for 24 hours.
- Remove from freezer and let sit 1 to 2 minutes. Run warm water over the outside of the pint for 30 seconds.
- Install pint in machine and run **Ice Cream** cycle.
- If crumbly, add 1 tablespoon milk and run **Respin**.
- Serve immediately for soft-serve texture or freeze 15 to 20 minutes for firmer scoops.
Notes
- Use a very ripe banana with brown spots for best flavor.
- Whole milk gives the richest texture.
- Sweetened condensed milk keeps the pint creamy instead of icy.
- Add chocolate chips, walnuts, caramel, or crushed vanilla wafers after spinning.
- Store leftovers flat in freezer and respin before serving again.
Leave a Reply