
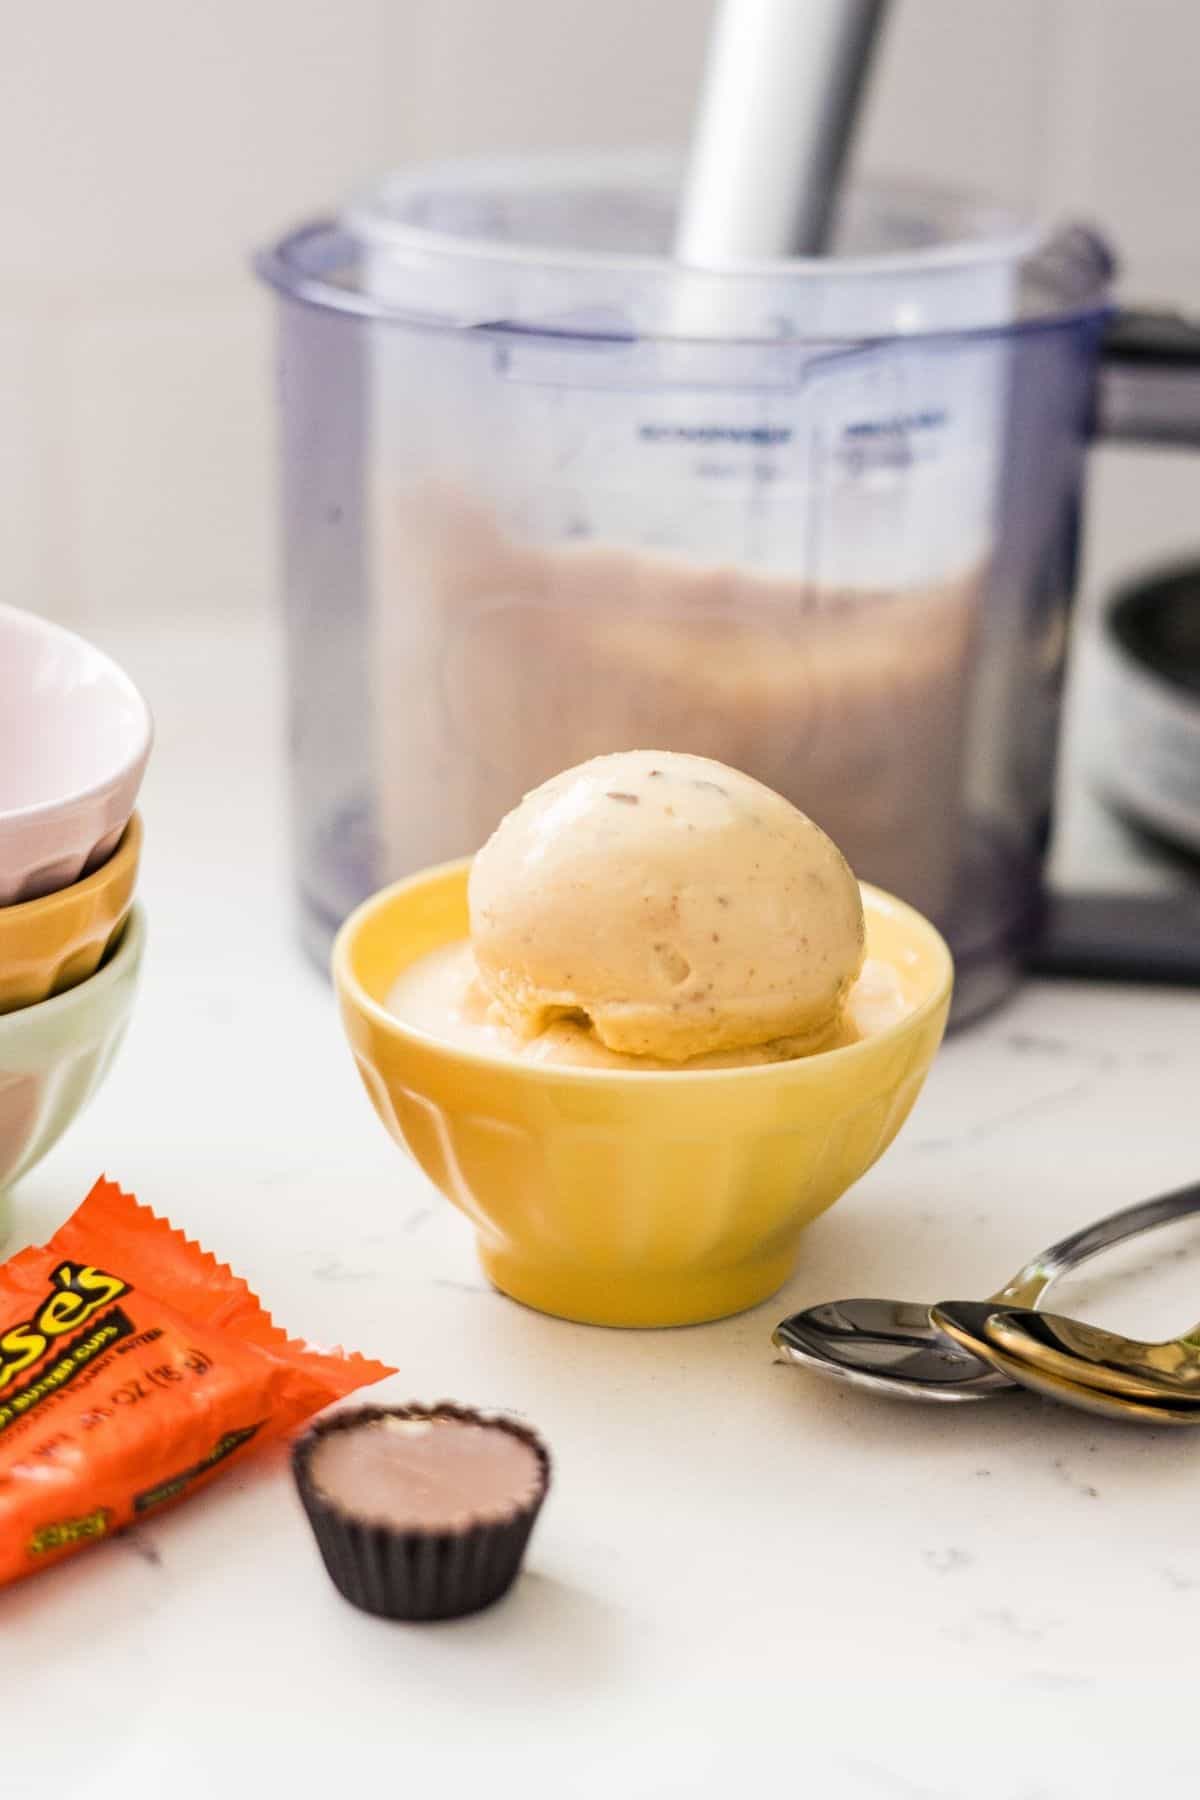
Ninja Creami peanut butter cup ice cream works because the base is balanced. Sweetened condensed milk handles the sweetness and keeps the texture soft, peanut butter brings the flavor, and mini peanut butter cups get mixed in at the end so you get a chunk in every scoop.
If you want to skip the mix-ins, my high protein peanut butter ice cream is a great option.
Peanut butter cup ice cream is one of those flavors that sounds simple but can go wrong fast. Too icy, not enough peanut butter flavor, mix-ins that disappear. This recipe fixes all of that. The base spins up smooth every time, and a pinch of salt makes the peanut butter taste like itself instead of getting lost in the sweet.
If you're new to the Ninja Creami, this is a great place to start. And if you already have a freezer full of bases waiting to spin, this one fits right in.
Jump to:
What You'll Need
- Milk is the liquid base that helps everything blend together smoothly and gives the ice cream a lighter, scoopable texture. Whole milk works best here for a creamier result but you can use any milk.
- Heavy cream adds fat, which means better texture and a richer taste. Don't skip it or swap for a lower-fat option here.
- Sweetened condensed milk is what makes this base rich and creamy without needing a cooked custard. It sweetens and improves the texture at the same time. Don't swap it for regular milk and sugar - they don't do the same thing in a frozen base.
- Creamy peanut butter is the real star here. Use a standard creamy peanut butter like Jif or Skippy rather than natural peanut butter. Natural peanut butter can separate and make the base oily and uneven. Standard creamy peanut butter blends smoothly and gives you consistent flavor throughout.
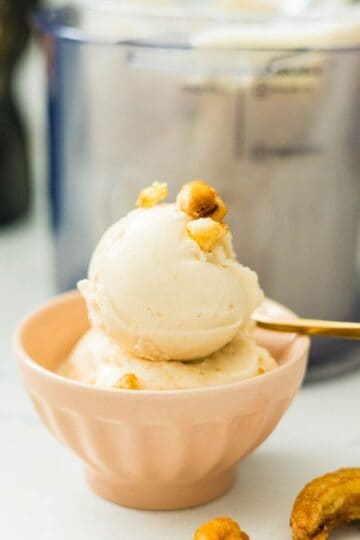
- Mini peanut butter cups are your mix-in. They go in after the first spin, not blended into the base. That's how you get real chunks instead of just a faint chocolate swirl.

How to Make Peanut Butter Cup Ice Cream
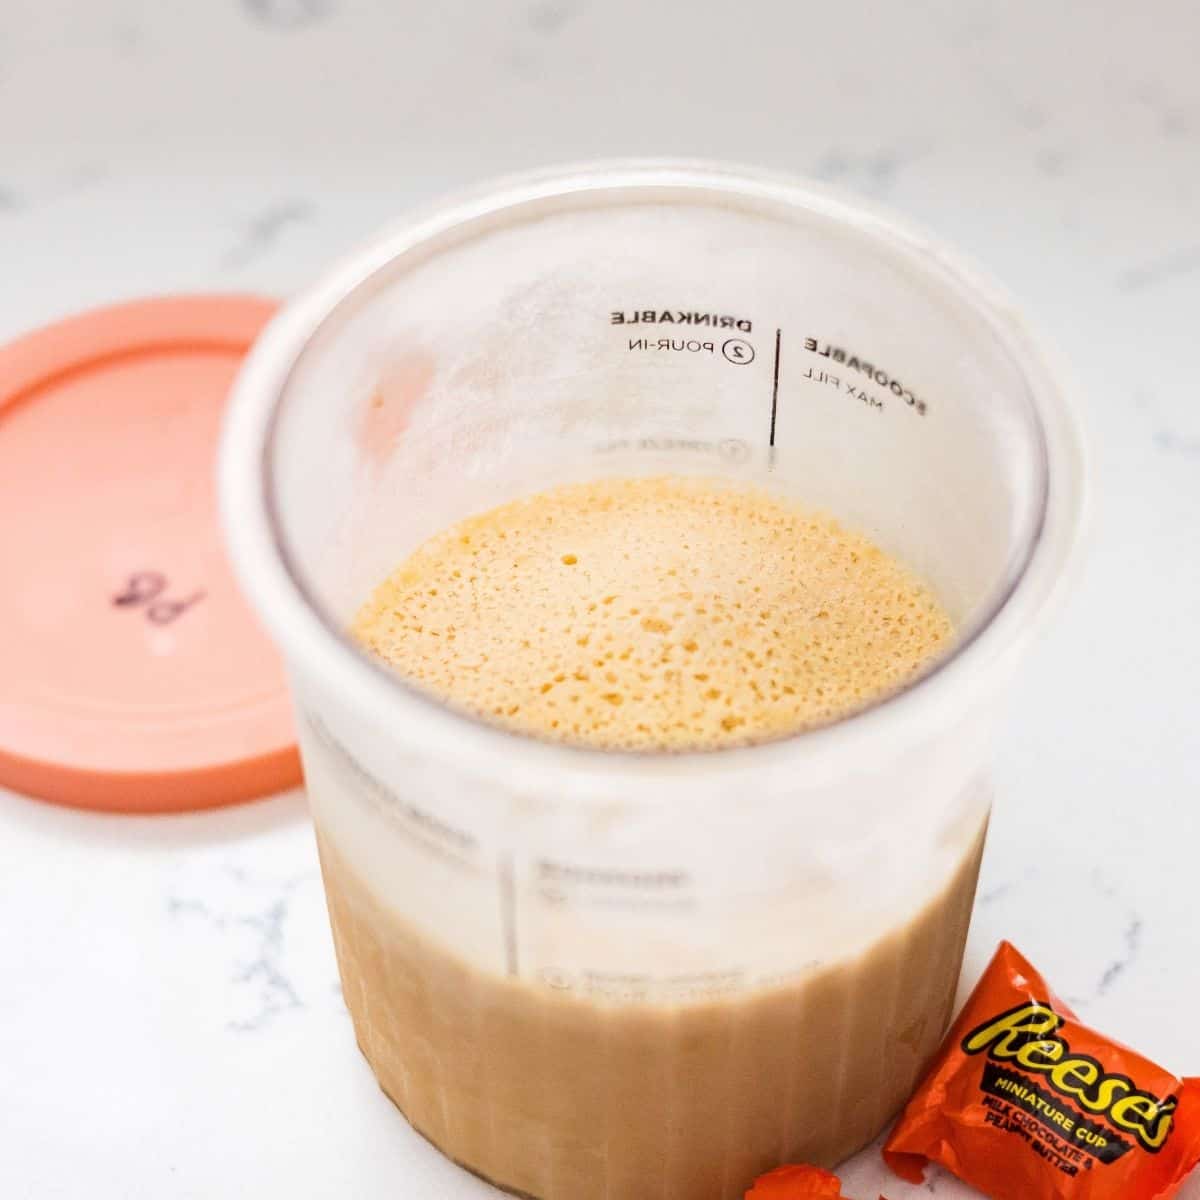
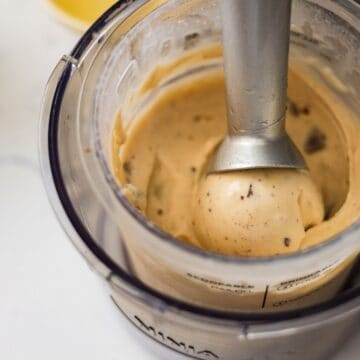
- Blend the base. Combine the milk, heavy cream, sweetened condensed milk, creamy peanut butter, and salt in a blender. Blend until fully smooth, about 45-60 seconds. Make sure the peanut butter is completely incorporated with no streaks.
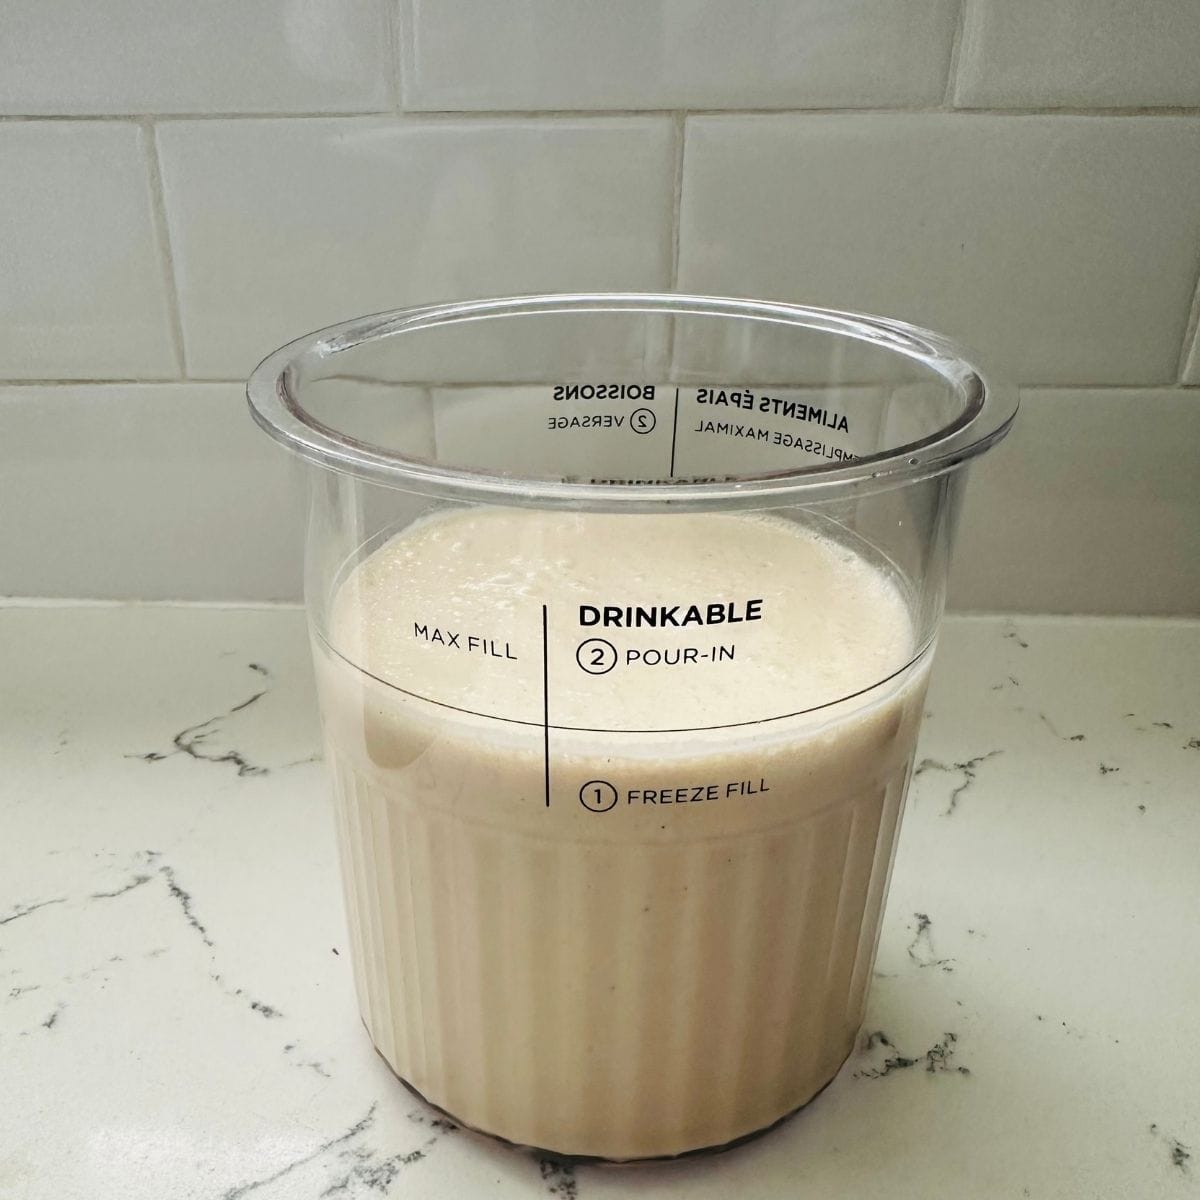
- Pour and freeze. Pour into your Ninja Creami pint container up to the max fill line. Seal the lid and freeze for a full 24 hours. The base needs to be frozen completely solid before processing.
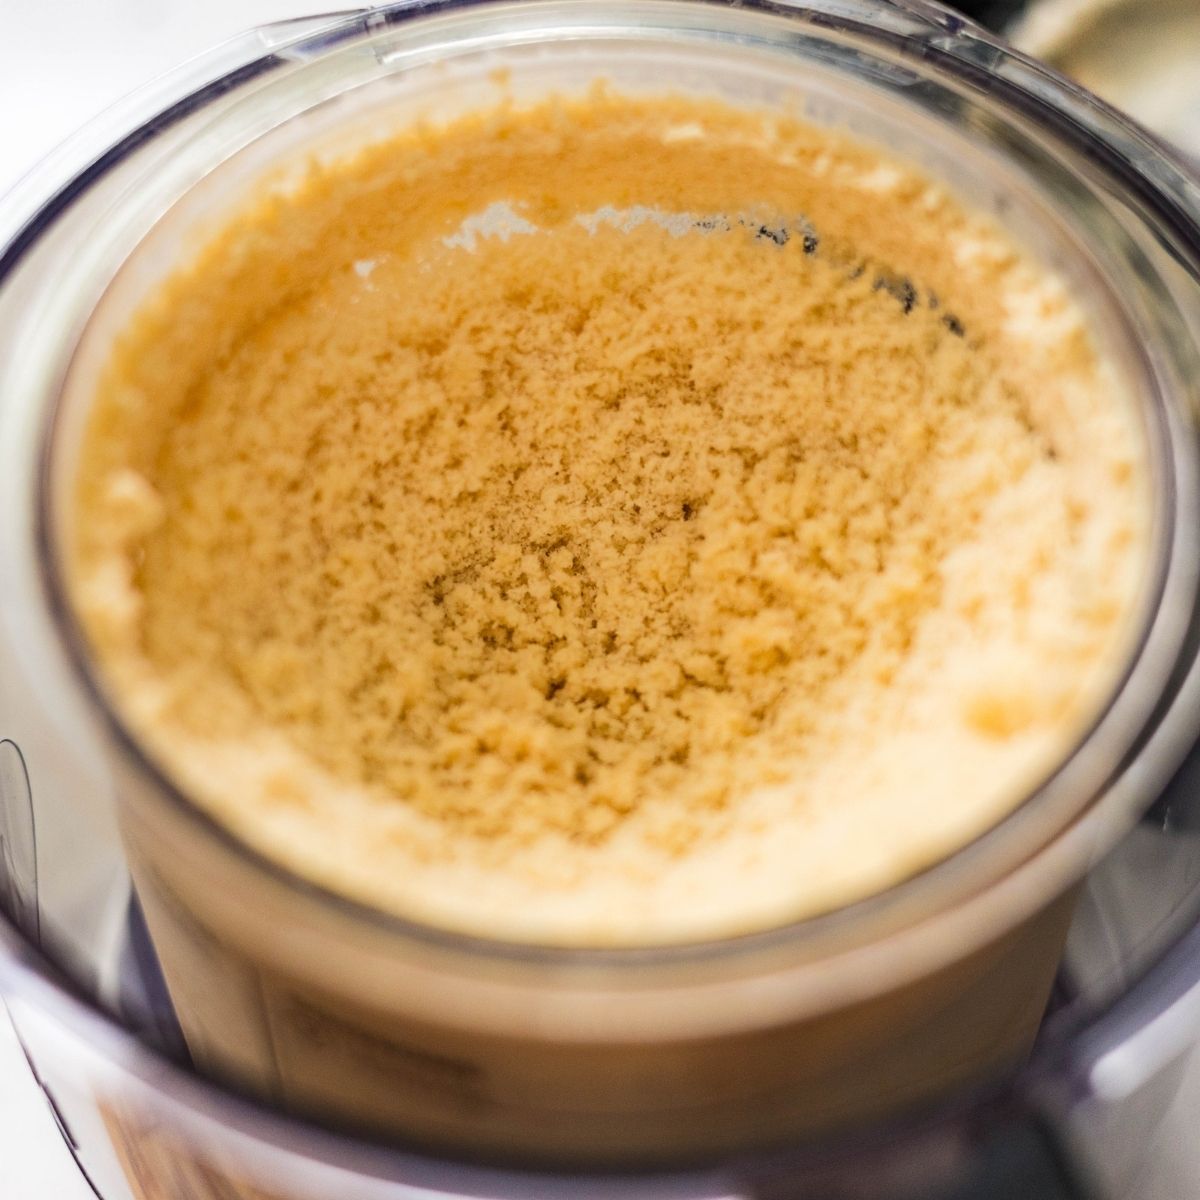
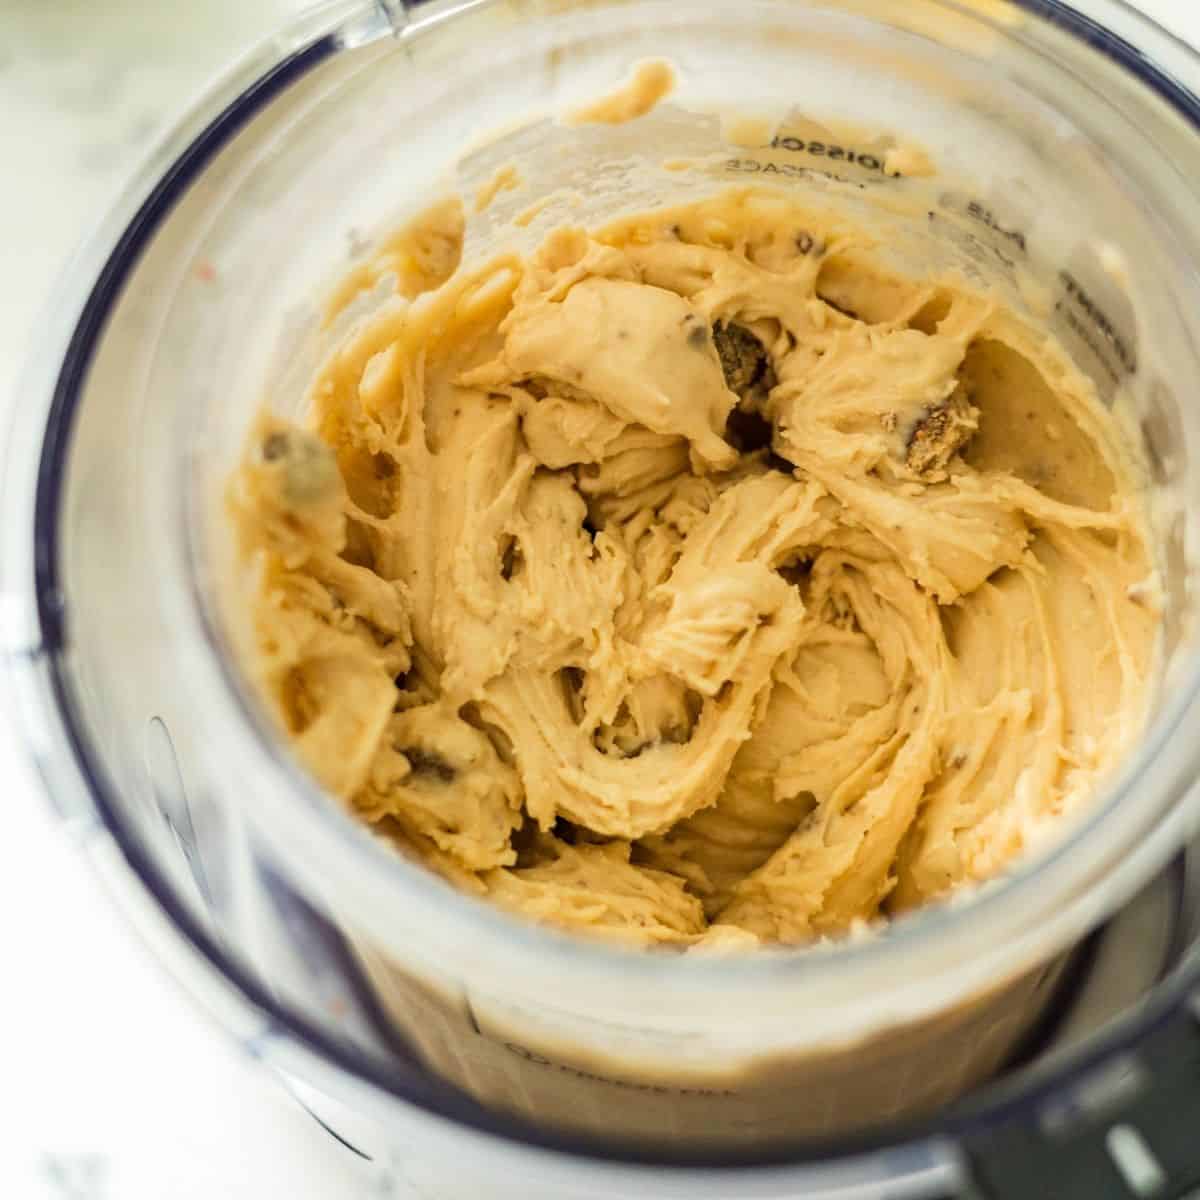
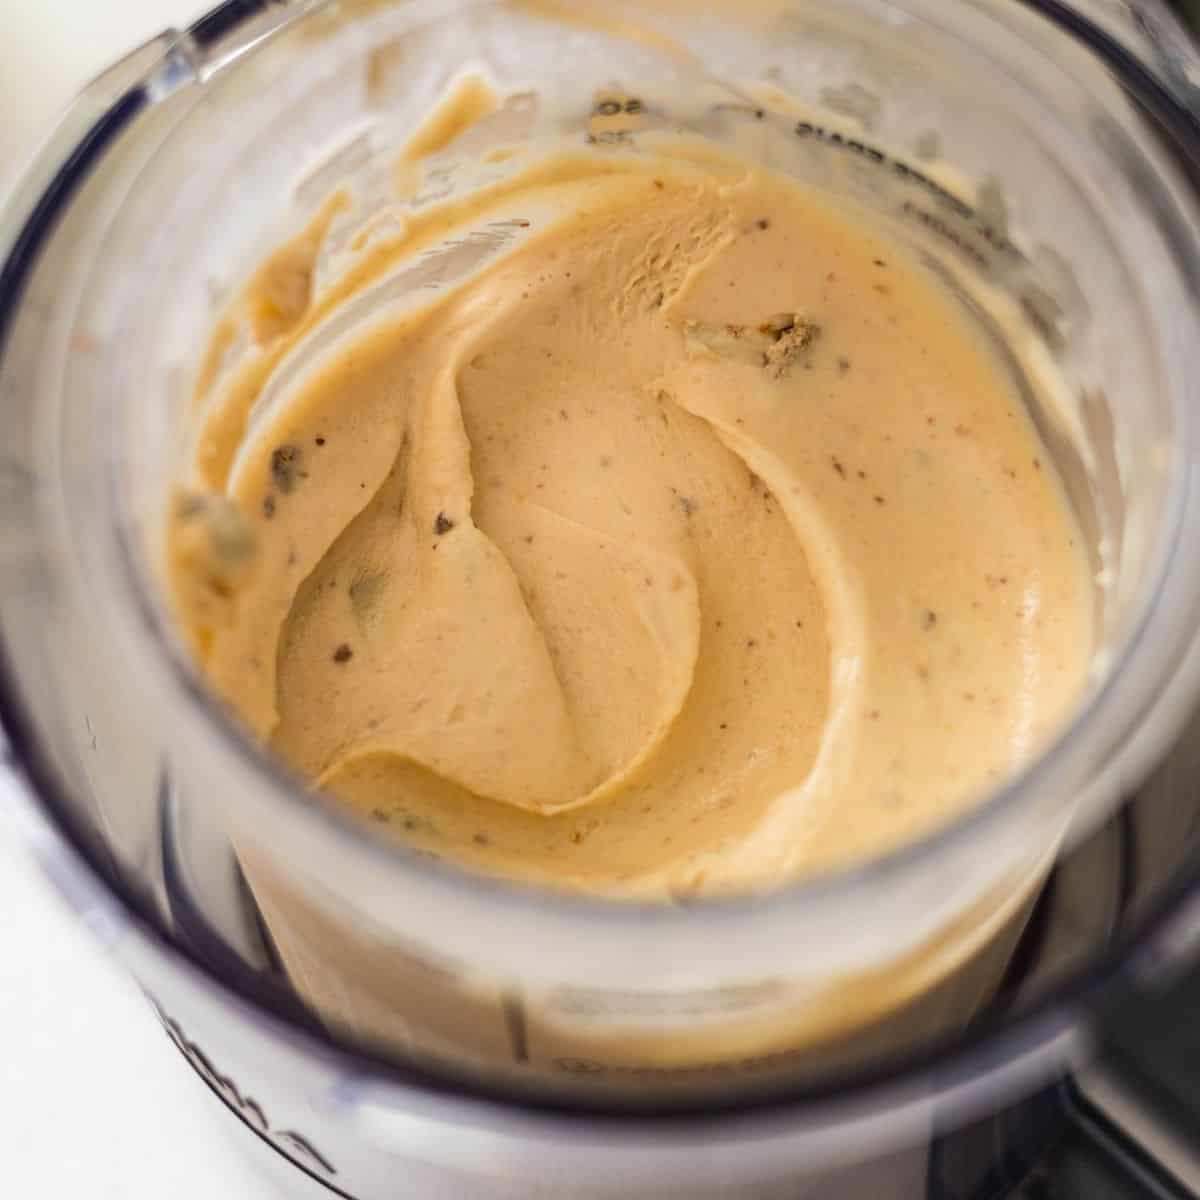
- Thaw slightly, then spin. Pull the pint out of the freezer and let it sit on the counter for about 5 minutes. Process on the Ice Cream setting. If the result looks crumbly or powdery after the first spin, that's fine - just hit Re-spin and it will smooth right out.
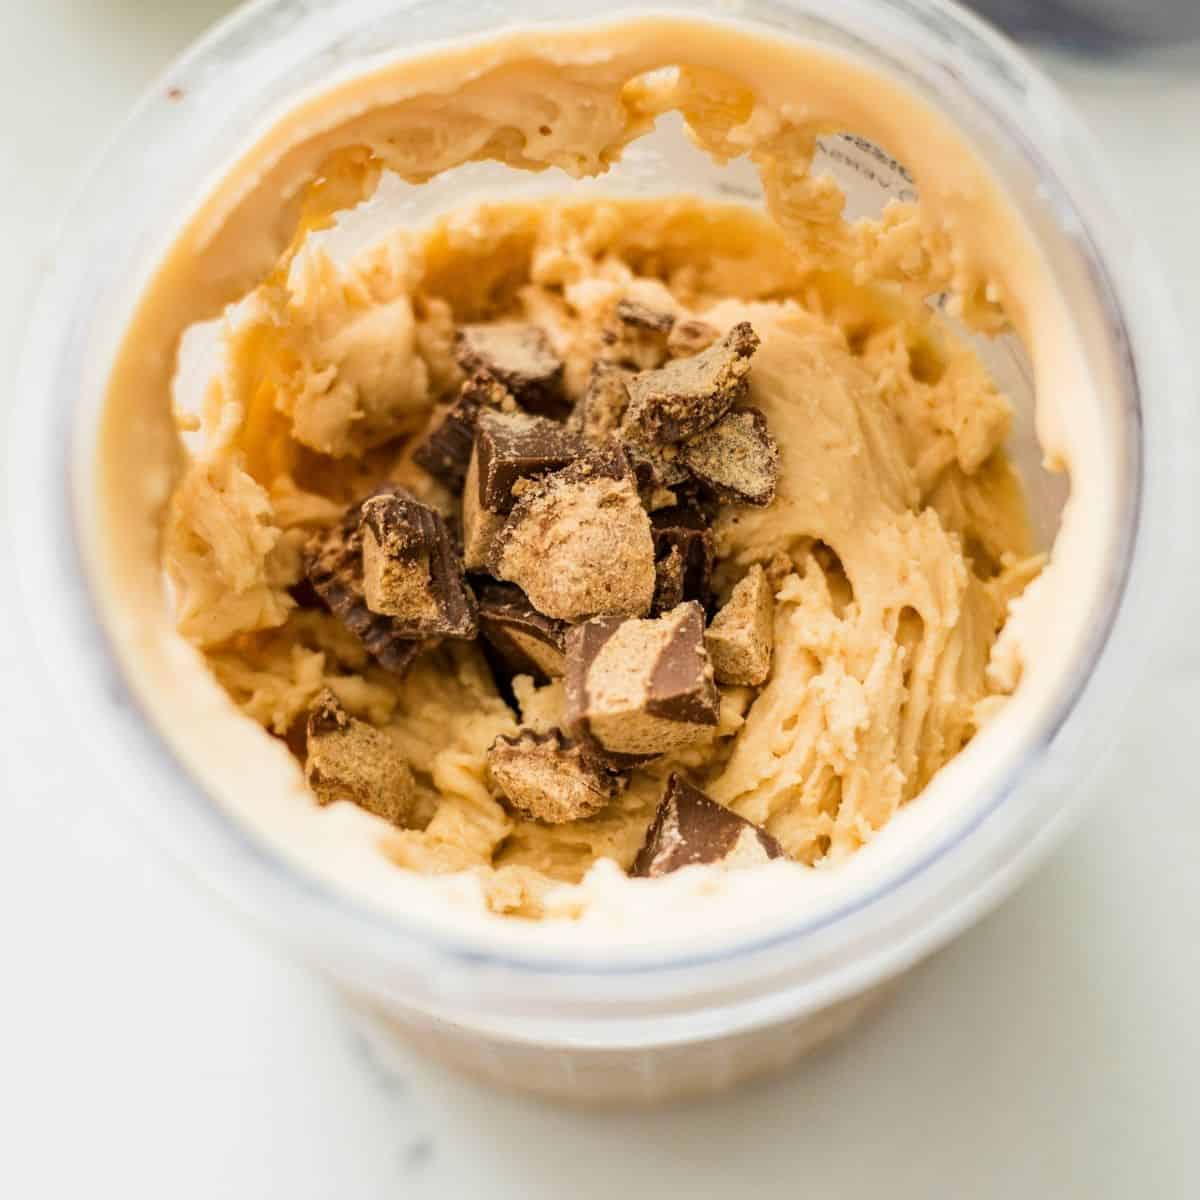
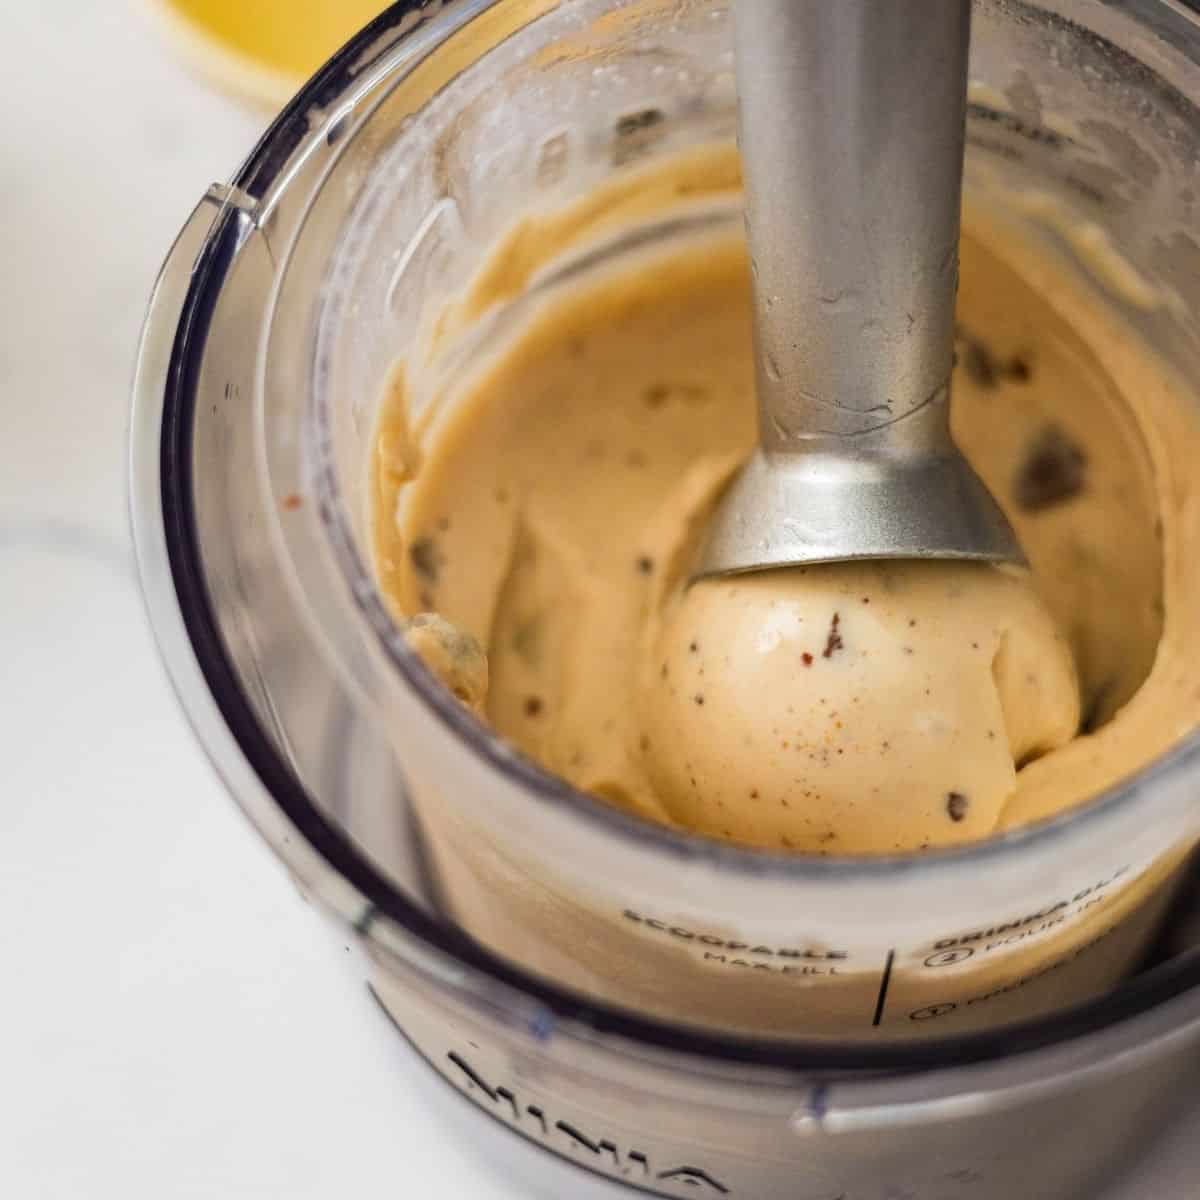
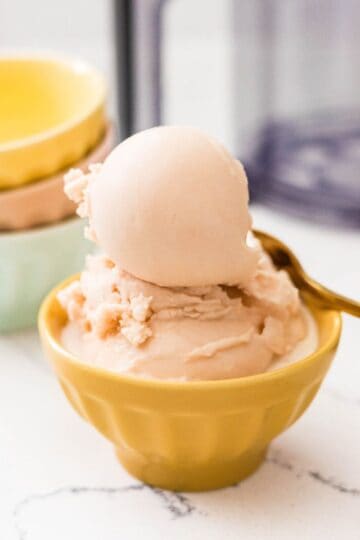
- Add the mix-ins. Dig a small well in the center of the spun ice cream with a spoon. Chop your mini peanut butter cups and press them in. Process on the Mix-In setting.
- Enjoy. Scoop straight from the pint or into a bowl. Either way is correct.
Flavor Variations to Try
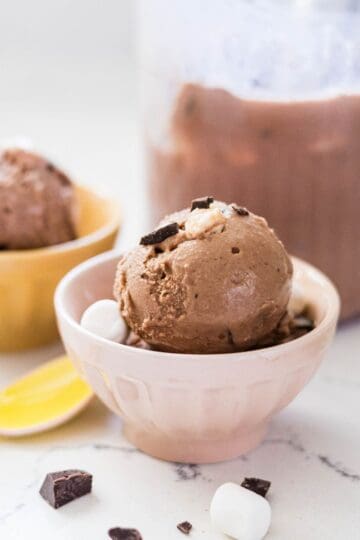
- Extra chocolate: Add a tablespoon of cocoa powder to the base before blending for a chocolate peanut butter cup situation.
- Peanut butter swirl: After the first spin, drop an extra tablespoon of peanut butter into the well before adding your mix-ins. Run the mix-in setting and you'll get a peanut butter ribbon through the whole pint.
- Different mix-ins: Reese's Pieces, chocolate chips, or crushed chocolate cookies all work here. Use what you have.
- More mix-ins: Peanut butter cups plus mini chocolate chips together is especially good. My Ninja Creami cookies and cream uses the same mix-in method if you want to see how it works with a different add-in.
Serving Size
This recipe is made for the Ninja CREAMi Deluxe, yielding 4 servings per pint.
If you’re using a standard 16-ounce Ninja Creami pint instead of the Deluxe 24-ounce, just use two-thirds of each ingredient. Think of it as filling the pint about the same way. Just a little less of everything.
Tools You’ll Need
- Blender: Makes mixing ingredients effortless.
- Ninja CREAMi Deluxe 11-in-1 Ice Cream & Frozen Treat Maker: The star of the show, perfect for creating creamy, smooth ice cream.
- Ninja Creami Pint Container: The pint container is essential for freezing and churning your ice cream mix.
Tips for the Best Results
- Use standard creamy peanut butter, not natural. Natural peanut butter separates and can make the base oily or uneven after freezing. Jif, Skippy, or any standard creamy peanut butter works best here.
- Let the pint sit before spinning. Five minutes on the counter makes the Ninja Creami work more efficiently and gives you a smoother result. Don't skip this, especially in colder months when your freezer runs extra cold.
- Blend until completely smooth. Peanut butter needs a full blend to incorporate evenly. Give it a full minute and scrape down the sides if needed before freezing.
- Re-spin if needed. If the ice cream looks crumbly or uneven after the first spin, hit re-spin once. It almost always fixes it.
Recipe FAQs
It's not recommended. Natural peanut butter separates and can make the base oily and uneven after freezing. Standard creamy peanut butter like Jif or Skippy gives you a much better result.
It's strongly recommended. It's what keeps the base creamy and smooth after freezing. If you skip it, the base will likely freeze icier and the texture won't be as good.
More Ninja Creami Recipes You'll Love
- Ninja Creami Cookies and Cream
- Ninja Creami Peanut Butter Protein Ice Cream
- Ninja Creami Chocolate Chip Ice Cream
- Ninja Creami Chocolate Ice Cream

Did you try this recipe?
Share how it turned out in the comments below, and if you loved it, share it on Facebook, Pinterest & Instagram.
Thank you! - Rose
Ninja Creami Peanut Butter Cup Ice Cream
Equipment
- Ninja Creami Deluxe Ice Cream maker
- Ninja Creami 24 ounce container pint
- Blender
Ingredients
- 1 ½ cups milk
- ¼ cup heavy cream
- ¼ cup sweetened condensed milk
- ¼ cup creamy peanut butter
- Pinch of salt
- 3 to 4 mini peanut butter cups
Instructions
- Blend the base. Add the milk, heavy cream, sweetened condensed milk, creamy peanut butter, and salt to a blender. Blend until completely smooth, about 45 to 60 seconds, making sure the peanut butter is fully incorporated with no streaks.1 ½ cups milk, ¼ cup heavy cream, ¼ cup sweetened condensed milk, ¼ cup creamy peanut butter, Pinch of salt
- Pour and freeze. Pour the mixture into your Ninja Creami pint container, making sure it does not go past the max fill line. Cover with the lid and freeze for 24 hours, or until completely solid.
- Thaw slightly, then spin. Remove the pint from the freezer and let it sit at room temperature for about 5 minutes. Process on the Ice Cream setting. If it looks crumbly after the first spin, run a Re-Spin.
- Add the mix-ins. Make a hole in the center of the ice cream with a spoon. Chop the mini peanut butter cups and add them to the center. Process on the Mix-In setting.3 to 4 mini peanut butter cups
- Serve. Scoop and serve right away.
Notes
- Use creamy peanut butter, not natural peanut butter, for the smoothest texture. Natural peanut butter can separate and make the base icy.
- Do not overfill the pint. Keep the base at or below the max fill line so it processes properly.
- If the ice cream looks dry or crumbly after the first spin, do not worry. A quick Re-Spin usually fixes it.
- Chop the peanut butter cups into small pieces so they mix in evenly and do not get stuck in large chunks.
- For cleaner mix-ins, freeze the chopped peanut butter cups for 10 to 15 minutes before adding them.
- Let the pint sit out for a few minutes before spinning. This helps the frozen base process more evenly.
- For a stronger peanut butter flavor, add 1 to 2 extra tablespoons of peanut butter, but keep in mind it will make the ice cream richer and a little heavier.
Leave a Reply